If you bought a SessionMate license you will have received an Api Key to use the service in production.
Let’s get that setup and take you through the typical workflow.
Completing the setup
After following the Get Started guide the only thing you change in order to use the product is to supply your apiKey to the SessionMateBuilder
builder: (context, child) => SessionMateBuilder(
    apiKey: 'xxxxx-xxxxxxxx-xxxx-xxxxxxxxx', // <-- API key here
    minimumStartupTime: 6000,
    child: child!,
  ),
This will capture crashes that the user experiences so you can replay it locally.
At this point you’ll get an email notification that tells you that there’s a new crash from a user.
Replaying the Crash
Launch an emulator and open your code. Go to the terminal and in the terminal type
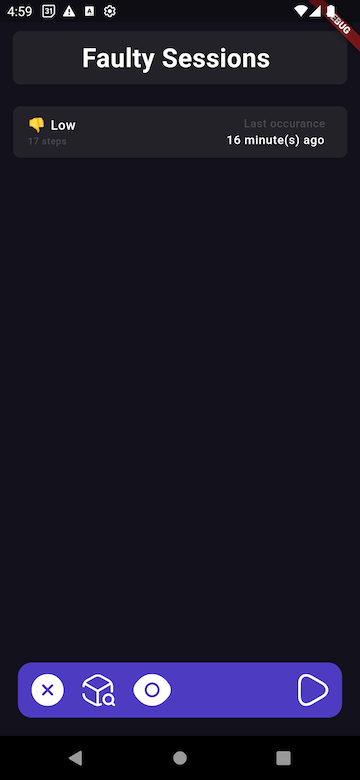
sessionmate drive -p . --api-key xxxxxx-xxxxxxxxxx-xxxxx-xxxxxxxxxx -vThis will run your app on the emulator you’re using and show you the crash report in the SessionMate UI.

Finding and fixing the bug
Now you can select the session you want to replay, and click on the replay button in the bottom right corner.
This will replay the session and print out all the logs from your app in the terminal. We are working on adding break point support to the experience, we don’t have that yet.
When you see the error occurs that happened in production you can read through the logs, find the exception and then fix your error.
App store compliance
For analytics software on iOS you will be required to ask the user permission for tracking. If they say no you have to disable all analytics.
SessionMate captures no personably identifiable information so it’s not required to disable, but if you want to, you can disbale all SessionMate analytics as follows:
SessionMateUtils.allowDataCapture(allowDataCapture: false);This will ensure that no crash reports leave the device.


