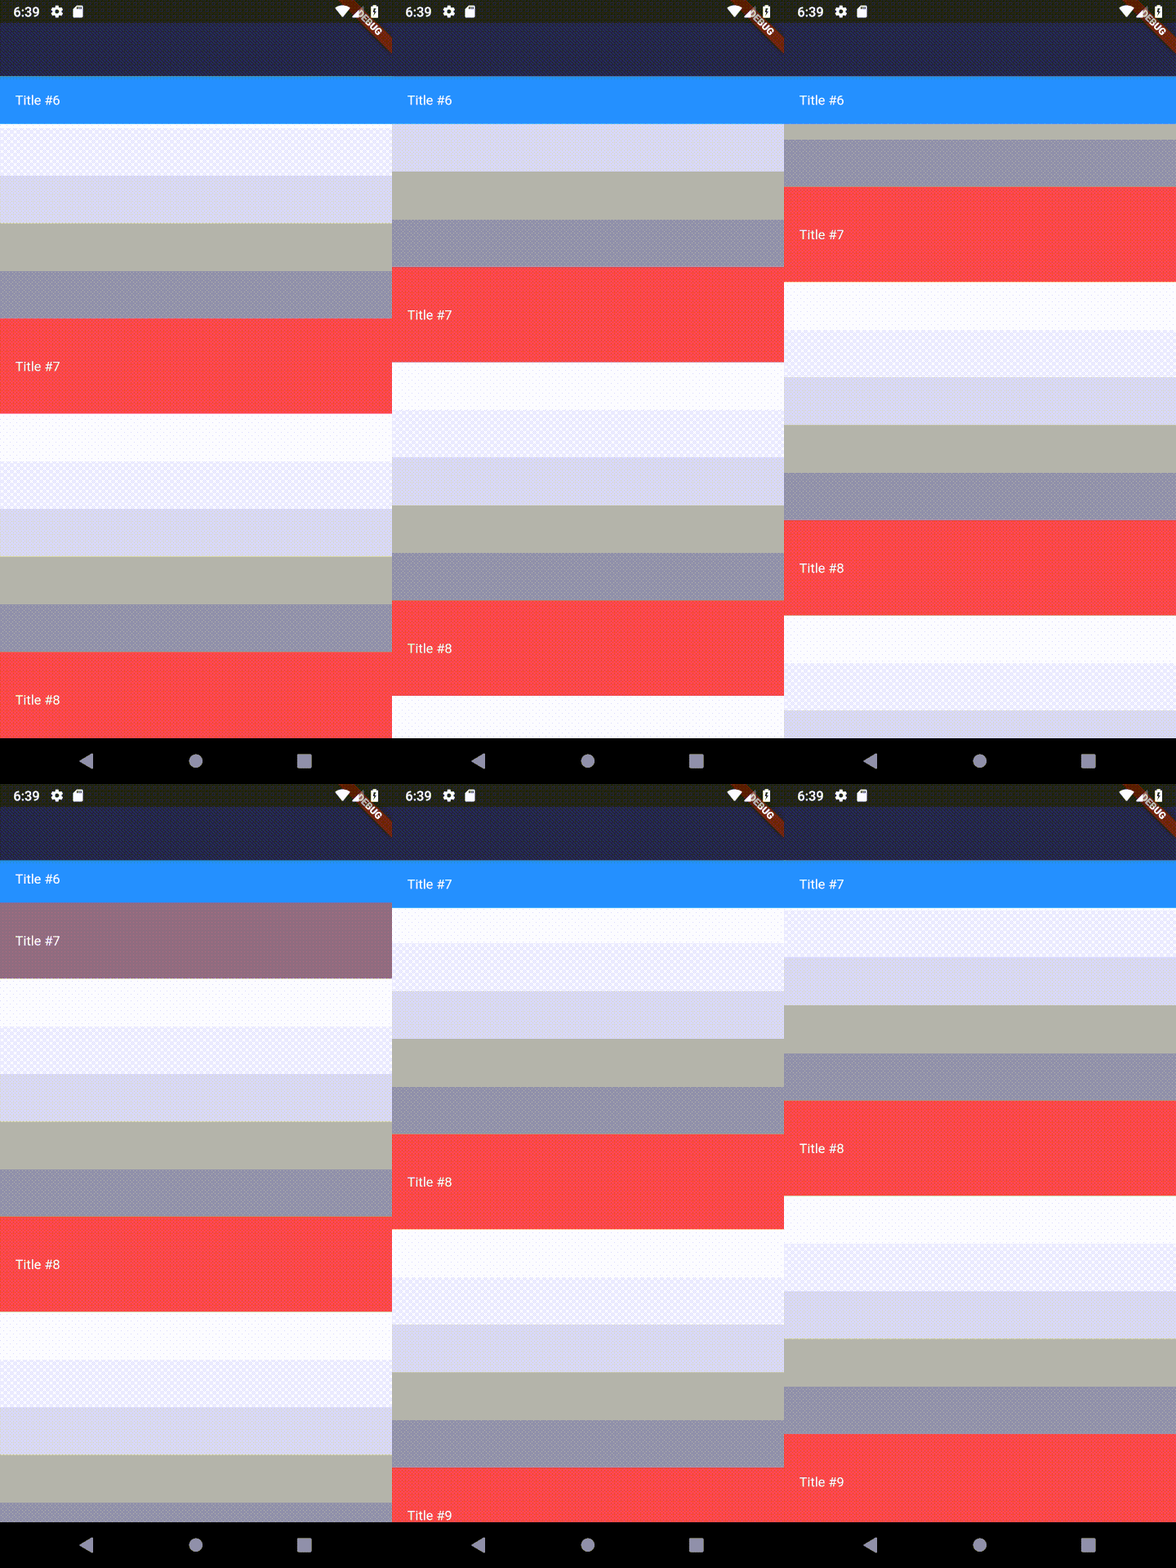
A common UI pattern used for categorised lists is using a Sticky Header. Today we’ll make use of the sticky_headers package to implement a basic sticky header and a custom header that changes color and size as it gets stuck. Here’s an example.
Add the package
sticky_headers: ^0.1.8Then set up the main file so we have a HomeView to work with.
class MyApp extends StatelessWidget {
  // This widget is the root of your application.
  @override
  Widget build(BuildContext context) {
    return MaterialApp(
      title: 'Flutter Demo',
      home: HomeView(),
    );
  }
}

class HomeView extends StatelessWidget {
  @override
  Widget build(BuildContext context) {
    return Scaffold(
        appBar: AppBar(
          backgroundColor: Colors.blueGrey[900],
        ),
    );
  }
}
Basic Stick Header
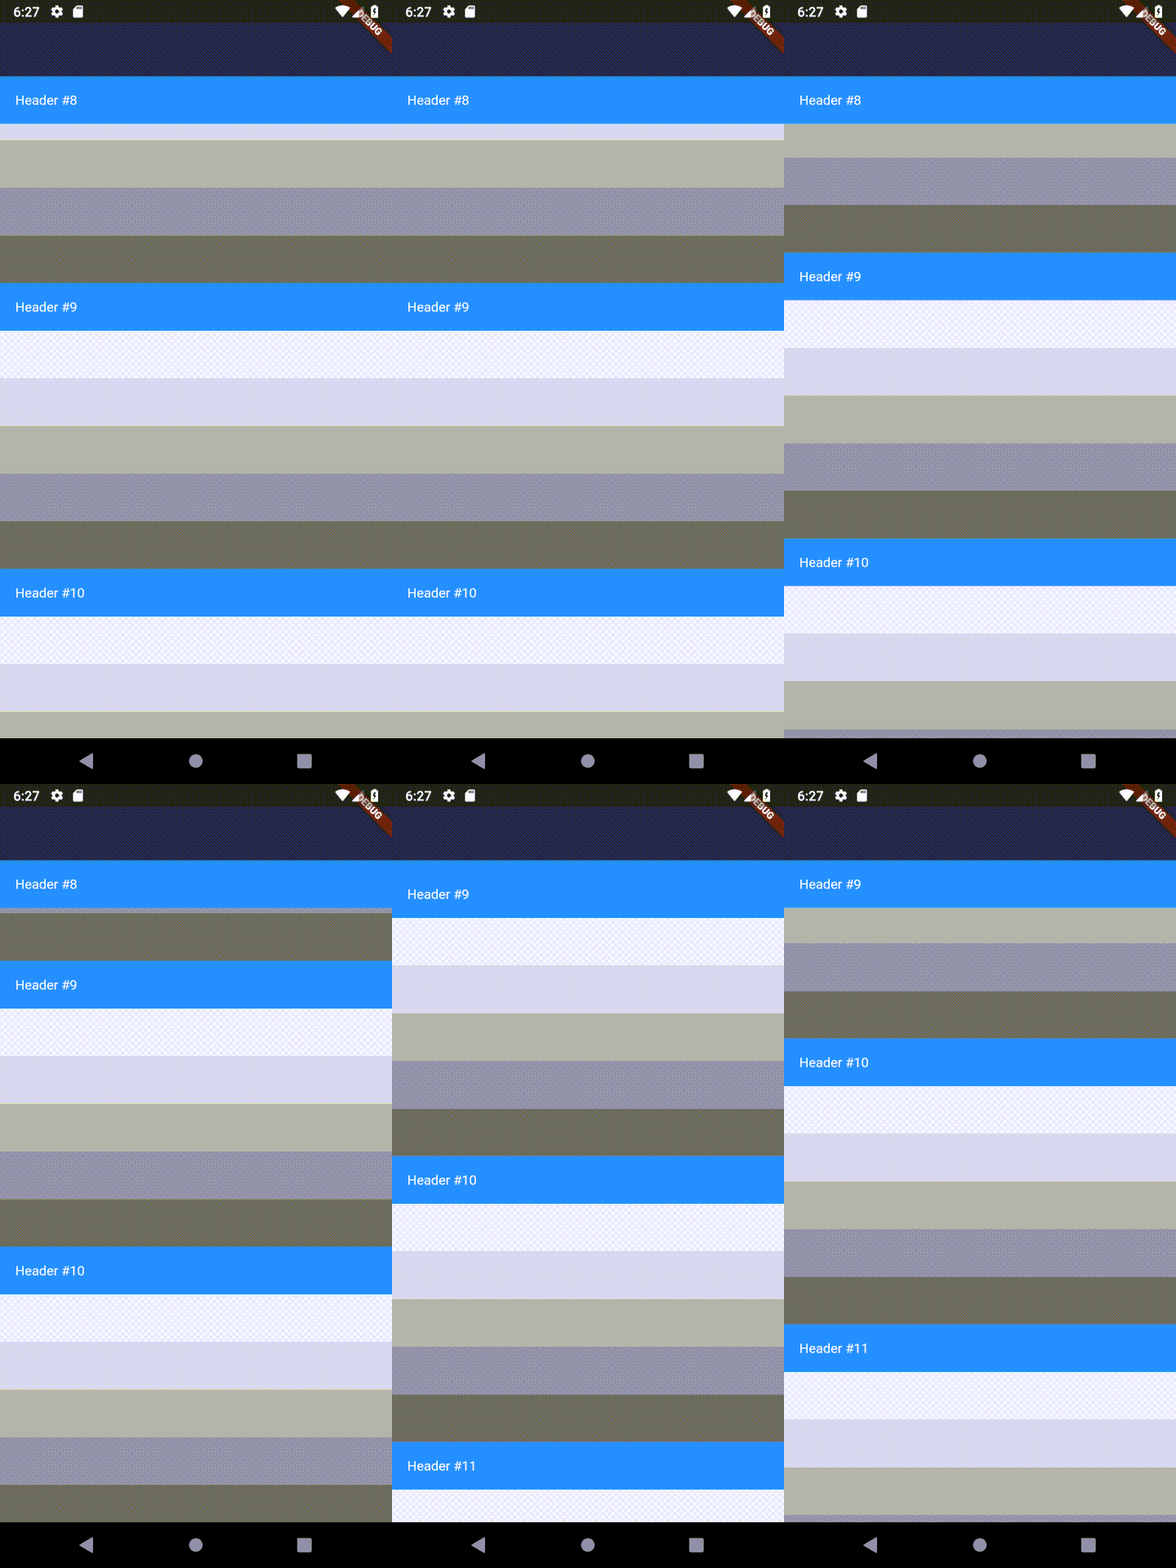
We’ll add a ListView as the body of our Home Scaffold and do our business in there. The way this library works is as follows. You provide a StickHeader widget that takes a header and one child. So each header is associated with only the child in the list. So for us we’ll return a StickyHeader with the header as a container of height 50, and an blue color. We’ll also set some text in the header to display the index. And for the content we’ll use a Column and generate 5 grey containers as the children
 return Scaffold(
      appBar: AppBar(backgroundColor: Colors.blueGrey[900],),
      body: ListView.builder(itemBuilder: (context, index) {
      return StickyHeader(
        header: Container(
          height: 50.0,
          color: Colors.blue,
          padding: EdgeInsets.symmetric(horizontal: 16.0),
          alignment: Alignment.centerLeft,
          child: Text(
            'Header #$index',
            style: const TextStyle(color: Colors.white),
          ),
        ),
        content: Column(
          children: List<int>.generate(5, (index) => index)
              .map((item) => Container(
                    height: 50,
                    color: Colors.grey[(item + 1) * 100],
                  ))
              .toList(),
        ),
      );
    }));
This will produce a result like below. A sticky header with a list of 5 items under it.
Custom Sticky Header
In addition to having the StickyHeader widget where you can supply a Header child. You also have a StickyHeaderBuilder that you can use for some custom functionality. The builder returns the “stuckAmount” which will start firing when the header reaches the sticking point. The value goes from 1 to -1, 1 being at the bottom of the sticking point, -1 being above the sticking point. We can use that value to create some cool effects. What I want is for the headers to be big and then get smaller as they go into place, great for showing an image as the header and then shrinking it down to a normal looking header with text only. I’ll also change the color for dramatic effect. To do this instead of using a StickyHeader we’ll use a StickyHeaderBuilder.
ListView.builder(itemBuilder: (context, index) {
    return StickyHeaderBuilder(
      builder: (context, stuckAmount) {
        print('$index - $stuckAmount');
        stuckAmount = stuckAmount.clamp(0.0, 1.0);
        return Container(
          height: 100.0 - (50 * (1 - stuckAmount)),
          color: Color.lerp(Colors.blue, Colors.red, stuckAmount),
          padding: EdgeInsets.symmetric(horizontal: 16.0),
          alignment: Alignment.centerLeft,
          child: Text(
            'Title #$index',
            style: const TextStyle(color: Colors.white),
          ),
        );
      },
      content: Column(...)
    );
  }));
Lets go over what’s happening above. First we want to clamp the amount so it doesn’t go into the negatives. Then we set our height to the max size (100) and we subtract the relative shrink height (50) based on the stuck amount that’s clamped and inverted (subtracted from 1). This will cause the shrinking effect as the value gets larger. The last thing we do is change our color from blue to red as the stuckAmount progresses. This will produce the result you see at the start.
Check out some of the other Snippets for more Flutter goodness.


